 |
 |
| Famous sign at the Pike Place Market |
Spider web, Seattle Arboretum |
 |
 |
| Jill & I at the wedding |
The happy bridge & groom :) |
 |
 |
| Seattle pier on a cloudy morning |
Lily pads, Seattle Arboretum |
 |
 |
| Glowing sea anemones, Seattle Aquarium |
Fish, Seattle Aquarium |
 |
 |
| Beautiful ceiling, Seattle Aquarium |
Crab, Pike Place Market |
 |
 |
| Me & Josh, Seattle Arboretum |
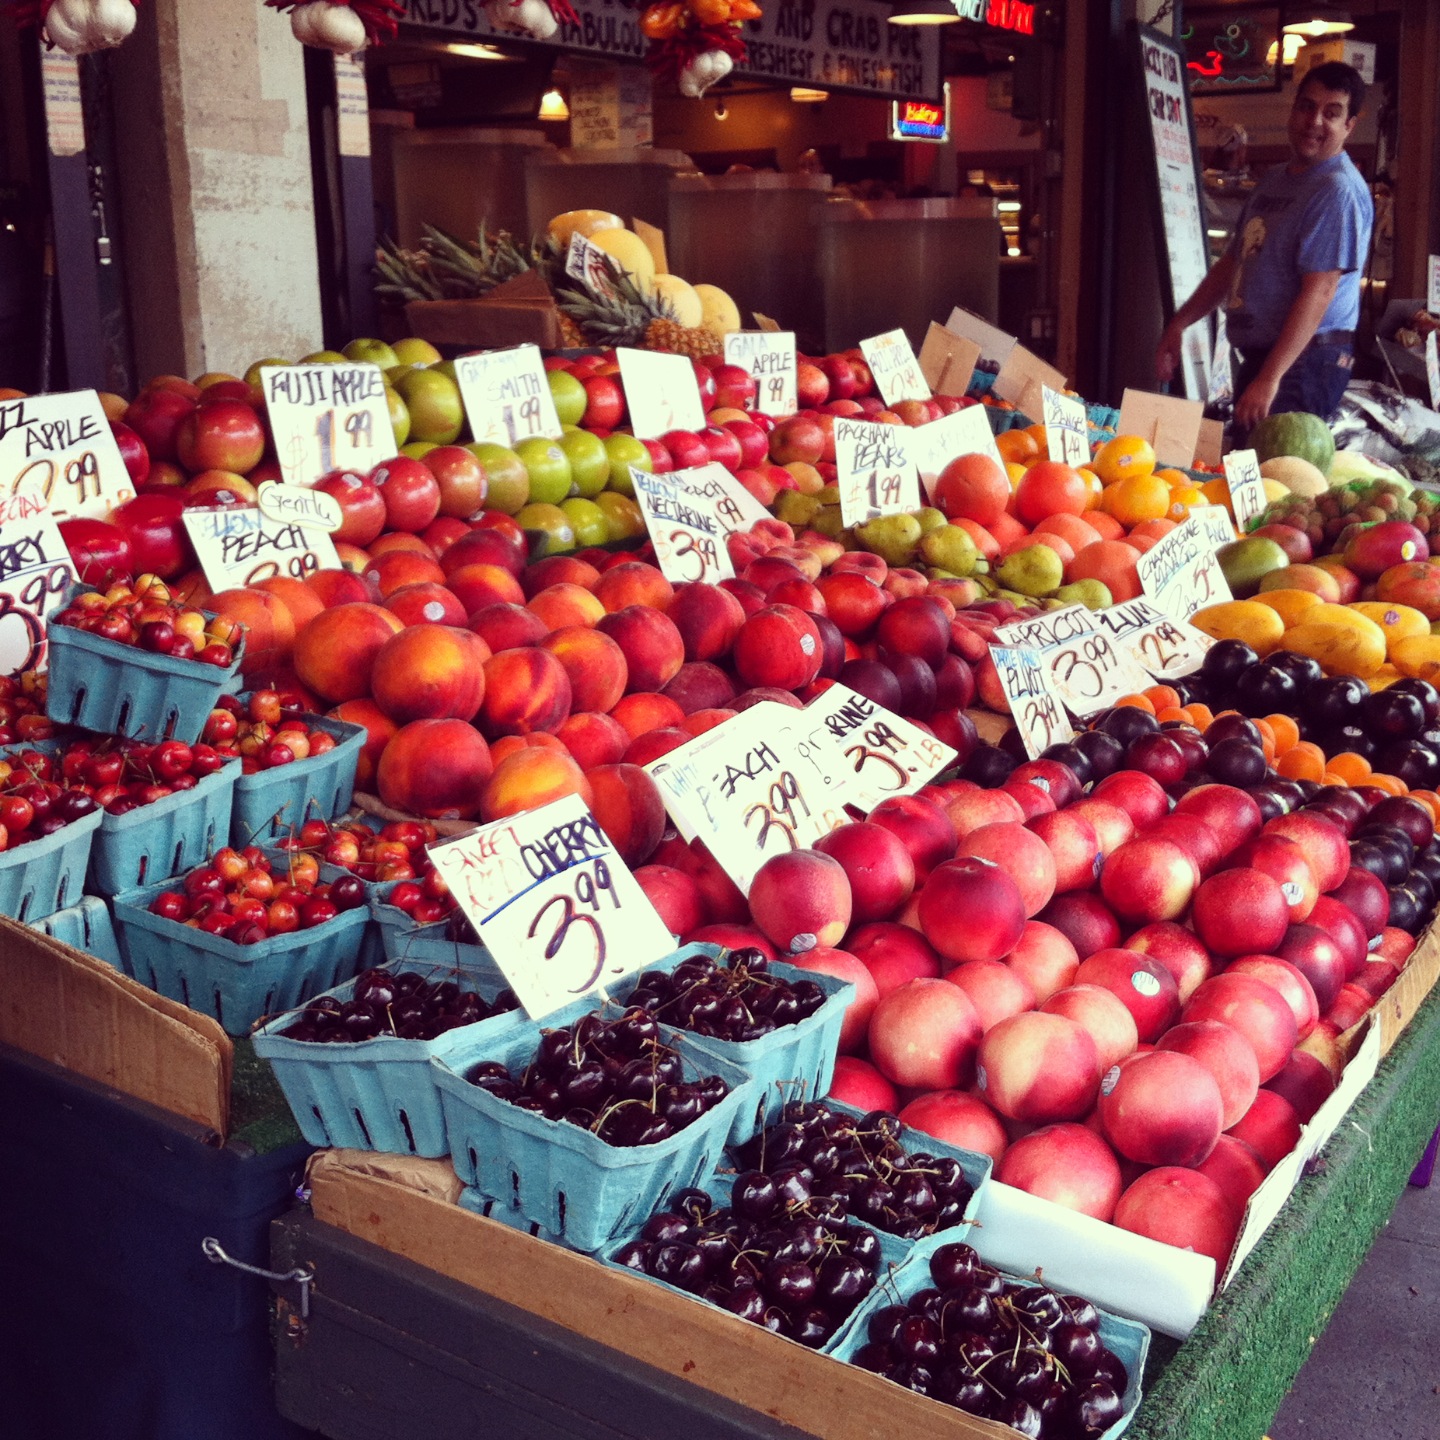
Fruit stand, Pike Place Market |

Wednesday, July 24, 2013
Back from Seattle
Hello everyone! We returned home from our Seattle trip Tuesday evening and went straight back to work on the house this morning. Josh's mom came back to Vermont with us to help out, and we spent most of today sanding, priming, and painting doors and windows for our previously mentioned disaster of a covered porch space. The porch progress will be covered on the blog later this week, but today I wanted to share a few Instagram shots from our trip to beautiful Seattle! (p.s. I am @claireferrante on Instagram if you'd like to follow along!)

Thursday, July 18, 2013
Salvaged Window Wall
We are headed to Seattle tomorrow for wedding, so the blog will be quiet for a few days, but before I go I wanted to share a few photos from our house projects this week.
The area of the basement we've been remodeling is adjacent to the oil burner, water tank, etc. To separate the remodeled area from the "basement" area we are putting up a wall at the base of the stairs. On the other side of the wall are windows that let in natural light, so to continue that light through the space we are adding a window salvaged from the dump to the wall. We'll frost the windows to block the view of the oil burner but allow light to come through.
I am continually amazed by the building supplies in great shape that are left at the dump. This window has a solid wood frame that only needed a few coats of paint and all of the panes are perfectly intact. Another win at the dump!
The wall going up ↓

 And the window being framed out ↓

 Here's how it looks right now ↓
 When we return from Seattle we will:
- finish mudding the wall
- paint the wall
- add window molding
- add baseboards
- paint the window molding and baseboards
- frost the windows
And now for the most exciting news -- the bathroom is done! I am still trying to figure out how to get nice photos of this tiny space with no windows so that I can share the full "before and after", but in the meantime here is a little sneak peek of the shower glass that was installed on Tuesday.

Not too shabby!
Have a great weekend everyone! I'll be back with new posts next Wednesday.
The area of the basement we've been remodeling is adjacent to the oil burner, water tank, etc. To separate the remodeled area from the "basement" area we are putting up a wall at the base of the stairs. On the other side of the wall are windows that let in natural light, so to continue that light through the space we are adding a window salvaged from the dump to the wall. We'll frost the windows to block the view of the oil burner but allow light to come through.
I am continually amazed by the building supplies in great shape that are left at the dump. This window has a solid wood frame that only needed a few coats of paint and all of the panes are perfectly intact. Another win at the dump!
The wall going up ↓
- finish mudding the wall
- paint the wall
- add window molding
- add baseboards
- paint the window molding and baseboards
- frost the windows
And now for the most exciting news -- the bathroom is done! I am still trying to figure out how to get nice photos of this tiny space with no windows so that I can share the full "before and after", but in the meantime here is a little sneak peek of the shower glass that was installed on Tuesday.
Not too shabby!
Have a great weekend everyone! I'll be back with new posts next Wednesday.
Tuesday, July 16, 2013
Step by Step DIY Hammock

We've been talking about making a hammock for the deck since last summer, and this week we finally got around to it. Below are the full instructions for those of you who want to give the project a shot.
What You'll Need:
2.5 to 3 yards of heavy canvas fabric
Grommet tool and at least 20 grommets
2 hardwood beams 1.25 inches thick x 2 inches wide x length of your hammock's width
Drill & 1/2 inch drill bit
100 feet of quarter inch cotton rope
2 large metal "O" rings
Step 1: Select a fabric
I choose a very heavy weight canvas fabric and bought 3 yards. We knew that ours would go under a covered porch, so I did not worry about waterproof fabric, but if yours will go outside in the open, check out the outdoor upholstery fabrics. Make sure it is extremely durable and heavy duty to handle all the weight it will support.
Step 2: Sew the ends
I folded the ends over 2.5" inches and ironed them to keep the fold down before folding them over a second time. I ironed again, then sewed the hem. The double fold has two advantages: 1) it creates a stronger edge for the grommets that will eventually be added, and 2) folding over twice hides the rough edge of the fabric. You can also add a separate strip of sturdy fabric or even board inside the hem for additional reinforcement.
The side with the showing fold will be the bottom of your hammock. I did not sew the length of the fabric because it had finished selvage edges and was already about the right width for a hammock.

Step 3: Measure and mark grommet holes
I wanted to use 11 grommets on each end, so I made my measurements to ensure even spacing, then marked the grommet locations with a marker on the bottom side of the hammock fabric.

Step 4: Cut holes for grommets
The simple grommet tool I bought couldn't cut through three layers of canvas, so instead I cut the holes myself with an Xacto knife. The holes will be covered by grommets, so they don't have to be perfect.


Follow the instructions that come with your grommet tool to add your grommets or - even better - watch this YouTube video. Setting grommets is not difficult, but I found the quick tutorial to be very helpful. Use grommets with a 1/2" center hole or larger.
Grommets have front and back sides, so make sure you are placing them correctly on your hammock.


The wood beams threaded through the string at either end of your hammock keep it open so as not to close on you like a cocoon when you get in.
Cut two hardwood beams to the length of your hammock ends and drill 1/2" holes in the beam to match up with your grommet spacing. The thickness of the beam should be at least an inch, but the width is up to you. Most hammocks have a beam that is somewhere around 2-5" wide. We sanded the beam after cutting and applied a few coats of polyurethane for protection.
Step 7: Add the hammock string
We chose to make a board with hooks to string our hammock because it makes the process easier, but you can string without a board. Simply find a hook or knob that your O ring can hang on as you loop the string, and secure your hammock fabric to the ground with books or other heavy objects so it does not move while you're threading the string through the grommets.
To start, cut your string into two 50' pieces, then set your hammock fabric on the ground, right side up, and place your wood beam with 1/2" holes on top of the grommets. Again, the weaving is not complicated, but it is easier to watch a video. We used the one below. The only thing we did different is instead of just looping the string on the board hooks, we looped it through our hammock grommets and wood beam on each pass as well (see my pictures below for a better visual on this).
Here are a few pics of our weaving process:


This step is optional. You can leave your string loose on the ring, or tie a smaller piece of string around the bunch to hold it together. Josh wanted to get fancy, and was excited about the weaving tutorial in the video shared above, so we decided to give it a shot. Again, check out the video for full instructions.


Step 9: Hang the hammock
We screwed two a heavy duty hooks into the beams on our deck, then hung the O ring on the hooks. Use heavy duty chain and a carabiner to add length if necessary.

Step 10: Enjoy!

Monday, July 15, 2013
Little Dog Goes to Brimfield, Part 2 + Todd Farm Flea Market
Brimfield in July is not what it is in the spring and fall. There are less vendors, less people, and generally less awesome stuff. It's still amazing and giant and overwhelming, but to be honest I didn't have much luck with bargains this year. The good thrifting happened on Sunday when I hit up Todd Farm. Below are a few shots from Brimfield Saturday plus Todd Farm Sunday.
Wood Buddha statue, Brimfield ↓

Chippy old toy car, Brimfield ↓

Alligator taxidermy, Todd Farm ↓
 Chippy mint green metal chairs, Todd Farm & Brimfield (the same vendor was at both shows!) ↓
 Desk with drawers, Todd Farm ↓
 Very mod speaker set, Todd Farm ↓
 Sewing table base with a rustic wood top, Todd Farm ↓
 Buoys, Brimfield ↓
 And last but not least, Fern met her doppleganger at Todd Farm :) ↓

In other news, we are making at DIY hammock this week and I am going to share the step by step when we finish, so stay tuned for that! Happy Monday everyone!
Wood Buddha statue, Brimfield ↓

Chippy old toy car, Brimfield ↓

Alligator taxidermy, Todd Farm ↓


In other news, we are making at DIY hammock this week and I am going to share the step by step when we finish, so stay tuned for that! Happy Monday everyone!
Friday, July 12, 2013
Little Dog Goes to Brimfield: July 2013, Part 1
Hello everyone! We're in Boston this week staying with family and hitting up the Brimfield Antique Show. The weather was perfect for thrifting today, and I had some good luck picking items for the Etsy shop. I snapped photos of interesting, bizarre, and random things as I browsed today. Have any of you been to Brimfield recently? Any great finds?
Great booth display

Pile of Navajo rugs
 Old signage
 Creepy mannequins, especially the one with the moustache :)
 Love this little fan
 Glove molds
 Old taxi sign
 Great architectural salvage. Those french doors with the windows above are amazing.

I'll be back at Brimfield tomorrow, then Todd Farm on Sunday. More photos of rusty, chipped, old stuff to follow! Have a great weekend everyone!
Great booth display

Pile of Navajo rugs


I'll be back at Brimfield tomorrow, then Todd Farm on Sunday. More photos of rusty, chipped, old stuff to follow! Have a great weekend everyone!
Subscribe to:
Posts
(
Atom
)